Google Tools Checklist
Instructions
- This week’s assignment will be to watch and complete all the Google tools tutorials on UnderstandingWP.com.
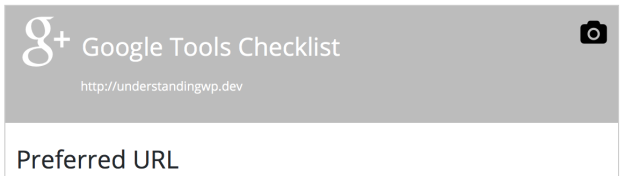
- Once you have completed all of the tutorials, you will take a screenshot of the “Google Tools” section of your site’s WP EDU Checklist. (This week you will watch a tutorial on how to install this plugin, and the checklist will be found on your website’s dashboard.) You will be submitting a screenshot that shows the “Google Tools” section of your checklist is complete, but to help you visualize what you are looking for, the top of the completed screenshot will look similar to this:
How to Take Your Screenshot
The WP EDU Checklist plugin that you installed in your WordPress website is equipped with a screenshot button [icon name="camera" class="" unprefixed_class=""] for each section. Follow these instructions to take your screenshot:
- Click the screenshot button to generate the screenshot for this week's assignment.
- Right click the image to bring up a save option, or click on the browsers file menu and select Save page as ...
- Save the image to your computer so you can submit it in I-Learn.
Just in Case
The following options are meant as a backup just in case you can't get the screenshot button to work in the WP EDU Checklist.
Awesome Screenshot Add-on
The awesome screenshot add-on is available for Firefox and Chrome. This add-on allows you to take full-page website screenshots, instead of just screenshots of what is visible on the monitor. Here are the links to the download/installation pages: